Air Balance
Air Balance
Air balancing is the core part of HVAC system commissioning. It aims to ensure that the air volume, pressure, temperature and other parameters in each area of the system meet the design requirements through scientific testing and adjustment, so as to optimize energy efficiency, improve comfort and meet health and safety standards. The following are the main tasks of air balancing, which are explained in detail step by step according to the process:
1. Preliminary preparation
System design and drawing review
Obtain the HVAC system design drawings to clarify the duct layout, fan parameters, supply/return air outlet location and design air volume requirements.
Confirm the special requirements of the building functional zoning (such as clean area and contaminated area) for air flow direction (positive/negative pressure) (such as positive pressure in hospital operating rooms).
Instrument calibration and tool preparation
Use high-precision equipment: anemometer, air volume hood, pressure gauge, thermo-hygrometer, rotating blade anemometer, etc.
Calibrate the instrument and ensure that it meets industry standards (such as NEBB requires anemometer accuracy within ±3%).
2. On-site testing and data collection
1). Air volume measurement
Supply and return air outlet test:
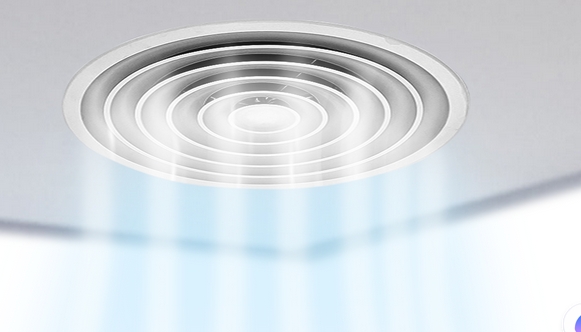
Use an air volume hood to directly measure the air volume of the supply/return air outlet (unit: CFM or L/s).
For complex air ducts, use the multi-point wind speed method (measure points on the duct cross section according to the equal area grid method to calculate the average wind speed).
Balance of fresh air and exhaust air: Ensure that the fresh air volume meets the ASHRAE 62.1 standard (such as the office per capita fresh air volume ≥8.5 L/s).
2). Pressure test
Static pressure and dynamic pressure measurement:
Measure the static pressure at the fan inlet and outlet and the key nodes of the duct, and calculate the total pressure drop of the system.
Evaluate whether the fan is in the efficient working range (avoid surge or overload).
Indoor and outdoor pressure difference control:
Use a micro differential pressure gauge to detect the pressure gradient of clean rooms and laboratories (such as PCR laboratories need to maintain a pressure difference of adjacent rooms ≥5 Pa).
3). Temperature and humidity verification
Check whether the supply air temperature meets the standard (such as 22–24°C in summer and 18–20°C in winter).
Humidity control (such as data centers need to maintain 40–60% RH).
3. System adjustment and optimization
1). Air valve adjustment
Manual/automatic air valve:
Adjust the air valve opening of the supply, return and exhaust ducts to distribute the air volume to each end.
Balance the resistance of multi-branch ducts to avoid “short-circuit” air flow (excess air volume in some areas and insufficient air volume in other areas).
2). Fan performance adjustment
Variable frequency drive (VFD) setting:
Adjust the fan speed to match the designed air volume and reduce energy consumption.
Belt and pulley calibration: Check the fan drive system to ensure that there is no efficiency loss caused by slippage or wear.
3). Local problem correction
Duct leakage treatment: Use smoke test or ultrasonic detector to locate the leakage point, seal or replace the damaged duct.
Filter blockage troubleshooting: Clean or replace the high-efficiency filter (HEPA) to restore the system resistance to normal value.
4. Verification and balance report
Second test confirmation
Re-measure the key points after adjustment to ensure that the deviation is within the allowable range (usually ±10% of the design value).
Verify that the pressure difference, noise (≤NC-40) and other indicators meet the standards.
Generate a balance report, report content:
Comparison table of design parameters and actual measurement data.
Adjustment records (air valve opening, fan speed, etc.).
Problem list and solutions.